How to move a VMware Workstation Virtual machine to another hard drive.
Just recently I had the need to move my Palo Alto Networks lab Virtual machines to another hard drive on my Windows 10 PC, The disk was slowly but surely running out of space. To be honest It's a pretty straight forward task, never the less I thought I'd share the love.
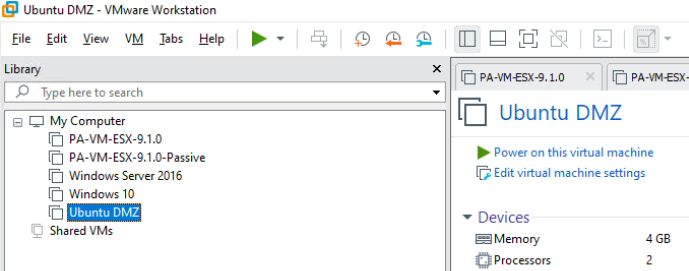
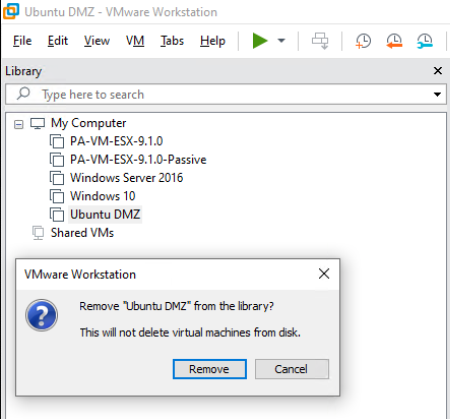
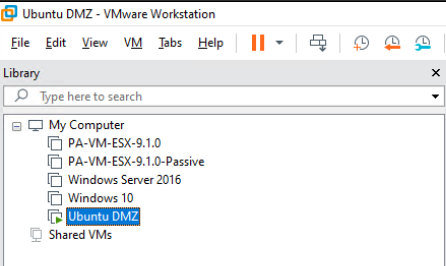
Below are the VM's that I want to move from my C:\ drive to my F:\ drive. All I needed to do is right-click on one of the VM's and select remove, this just removes the VM from the inventory not the hard drive!

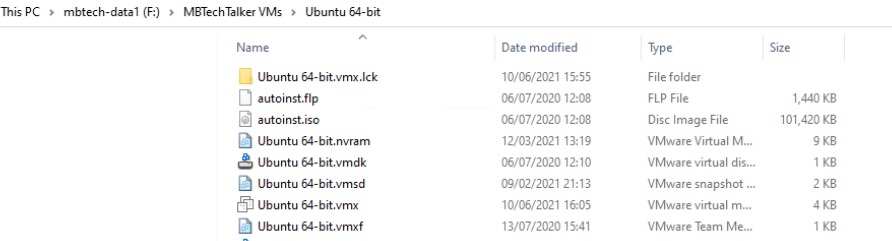
Next I clicked on edit in the toolbar and clicked preferences, here I could see where my virtual machines were currently installed. I created a new folder on my F:\ drive and gave it a descriptive name, this is where the VM folders and files will live going forward. I then browsed to the original default VM directory and chose the Ubuntu 64 bit VM Folder to copy across to the new location on my F:\ drive.


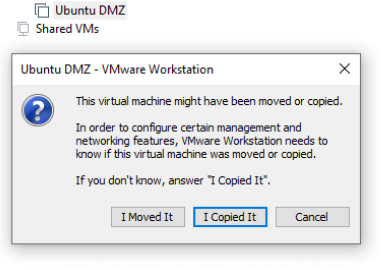
Once the VM folder was copied across to its new home, I went back to the Workstation console and clicked on File>>open and browsed to the Ubuntu 64 bit VM folder and clicked on the Ubuntu 64-bit.vmx file (configuration file). I span up the Ubuntu virtual machine and I got a message asking if I moved or copied it, I chose I moved it. And voila the VM booted up from its new location.

I just repeated the same steps for each of the Virtual machines, I now have plenty of capacity to create new VMs in my lab, job done!