How To Install Graylog On Ubuntu 20.04
Graylog is an open-source log management tool that helps you store and analyse machine logs centrally. Graylog set-up consists of three components Graylog server, Elasticsearch, and MongoDB.
This is a fresh install of Ubuntu 20.04, as I'm installing Graylog in a demo lab environment I won't be covering security settings in this guide! Please ensure the Graylog server is not publicly exposed and follows security best practices. Please see the following documentation Securing Graylog.
Let's start by updating the package sources list to get the latest list of available packages and their versions, and then install any newer versions of the packages.
ubuntu@ubuntu sudo apt upgrade
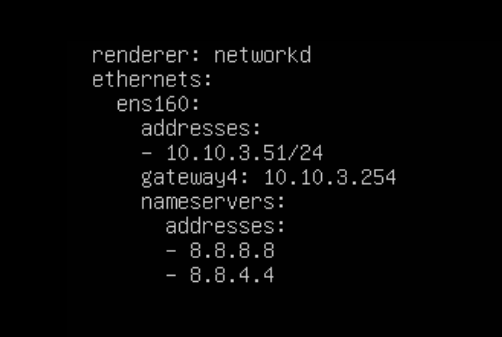
Configure a static IP address, and make sure you get the indentation right.
Apply the changes.
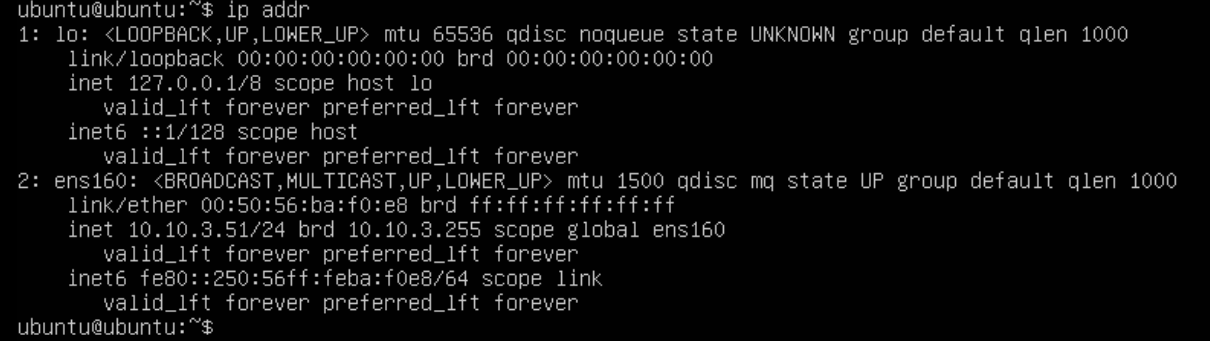
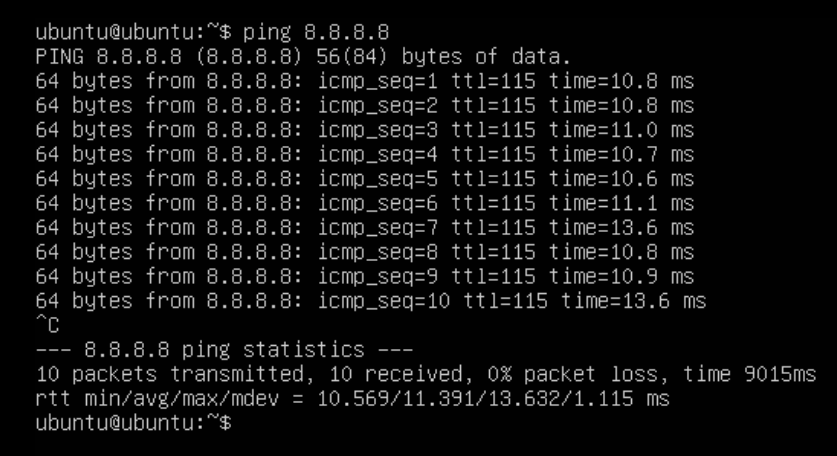
Verify with the IP address is correct and make sure you can ping the internet.
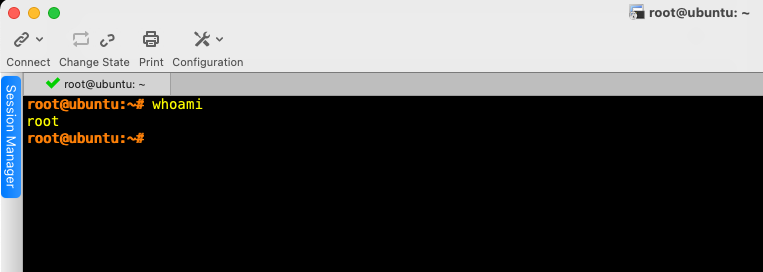
Now I can SSH to the server on 10.10.3.51 using an SSH client, I've enabled the root account on the server, it's not required but I find it helpful in my lab environment. Just in case you want to do the same here's a link.
I'm going to change the hostname of the server, you will need to exit the SSH session and reconnect to see the new hostname.
Verify the current timezone and list time zones.
timedatectl list-timezones
Configure the correct timezone and verify.

Now onto the fun bit!
Install Java
sudo apt install -y apt-transport-https openjdk-11-jre-headless uuid-runtime pwgen curl dirmngr
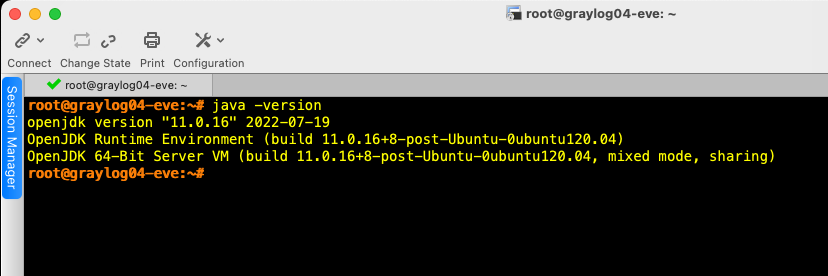
Verify the Java version.
Install Elasticsearch
Download and install the GPG signing key.
Set up the Elasticsearch repository on your system by running the below command.
Update the repository cache and then install the Elasticsearch package.
sudo apt install -y elasticsearch-oss
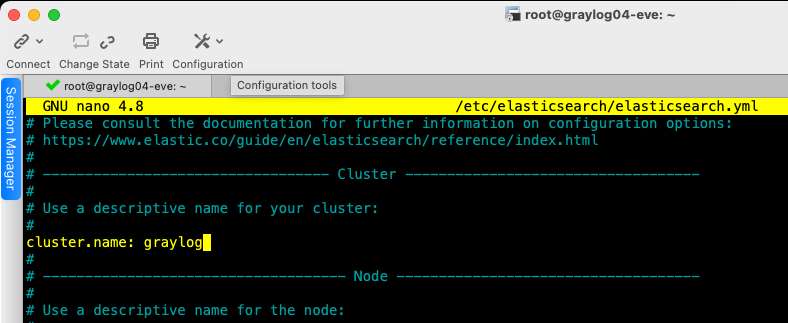
Now we need to edit the Elasticsearch configuration file to set the cluster name for the Graylog set-up, and also add an additional string to the bottom of the file.
Let's start the Elasticsearch service to allow the new configurations to be read.
sudo systemctl start elasticsearch
sudo systemctl enable elasticsearch
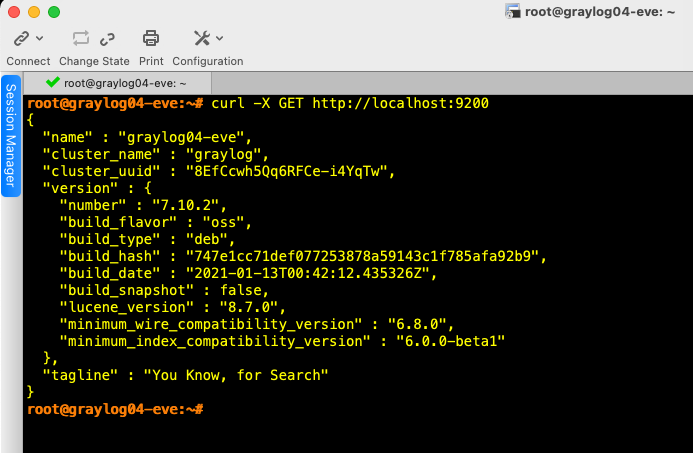
Allow 30 seconds to a minute for the Elasticsearch service to start up and then issue the following curl command.
You should get this output, ensure you can see the cluster name of "graylog"
Install MongoDB
MongoDB acts as a database for storing Graylog’s configuration. Graylog requires MongoDB v3.6, 4.0 or 4.2.
Unfortunately, MongoDB official repository doesn’t have the required MongoDB versions for Ubuntu 20.04. So, we will install MongoDB v3.6 from the Ubuntu base repository
sudo apt install -y mongodb-server
Let's start the MongoDB and make sure the service starts on the system start-up.
sudo systemctl enable mongodb
Install Graylog Server
Graylog Server reads data from Elasticsearch for search queries coming from users and then displays it for them through the Graylog web interface.
I'm going to install graylog-4.2 in my lab
Download and install the Graylog 4.2 repository configuration package.
Install the graylog package.
Update the repository cache.
Install the Graylog server
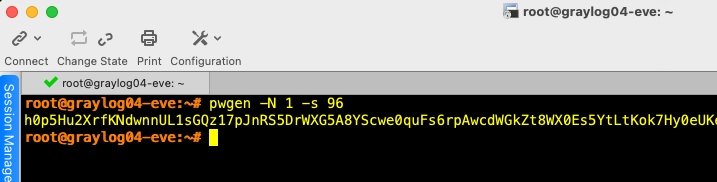
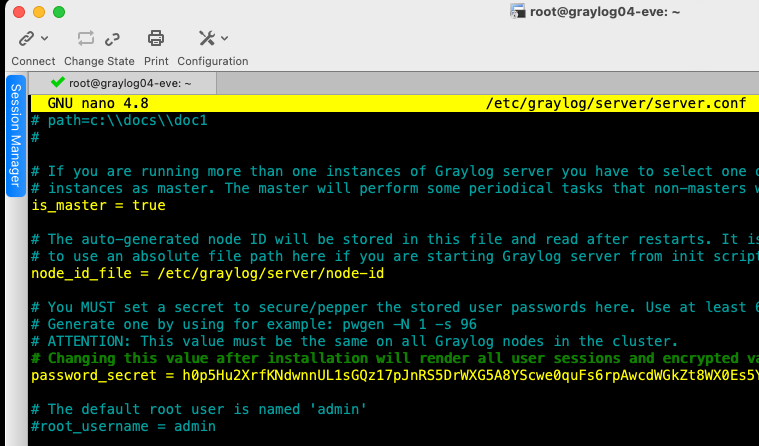
Now we have to generate a secret to secure the user passwords by using the pwgen command.
Copy the output to your clipboard and use nano to edit the Graylog server.conf look for "password_secret" and paste the text with a space after the equal sign.
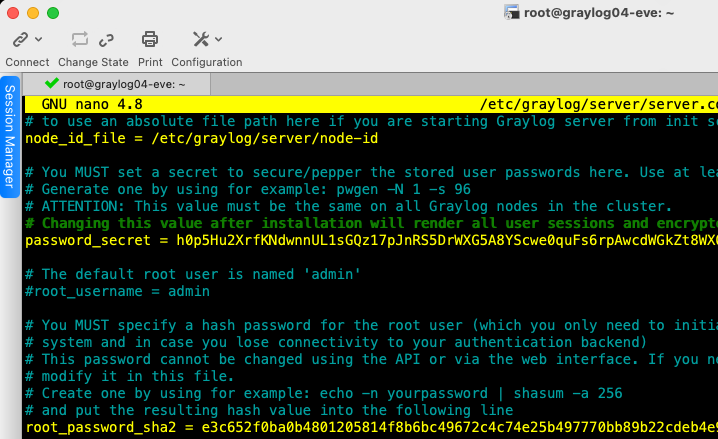
Now we need to generate a hash for the Graylog admin user, this will be used to log into the Graylog Web-UI.
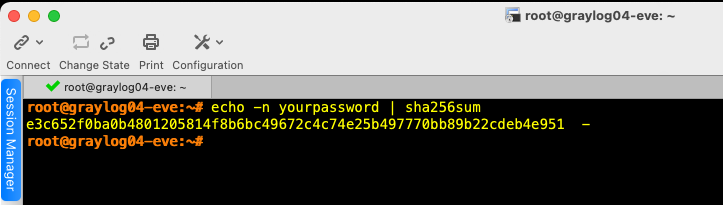
Use nano to open the server.conf again and add the text to "root_password_sha2" line with a space after the equals.
Setup the Graylog Web-UI
For the last time (I promise) open the Graylog server. conf using nano and edit the "http_bind_address" to use your server's IP address.
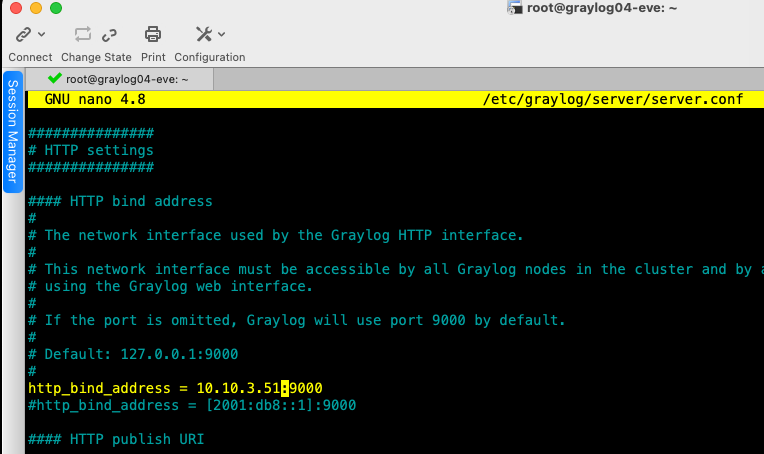
While editing the /etc/graylog/server/server.conf change to your correct timezone.

Now for the moment of truth, star and enable the Graylog service.
sudo systemctl start graylog-server
sudo systemctl enable graylog-server
Check for the Graylog server logs for any issues.
Browse to the Graylog Web Interface
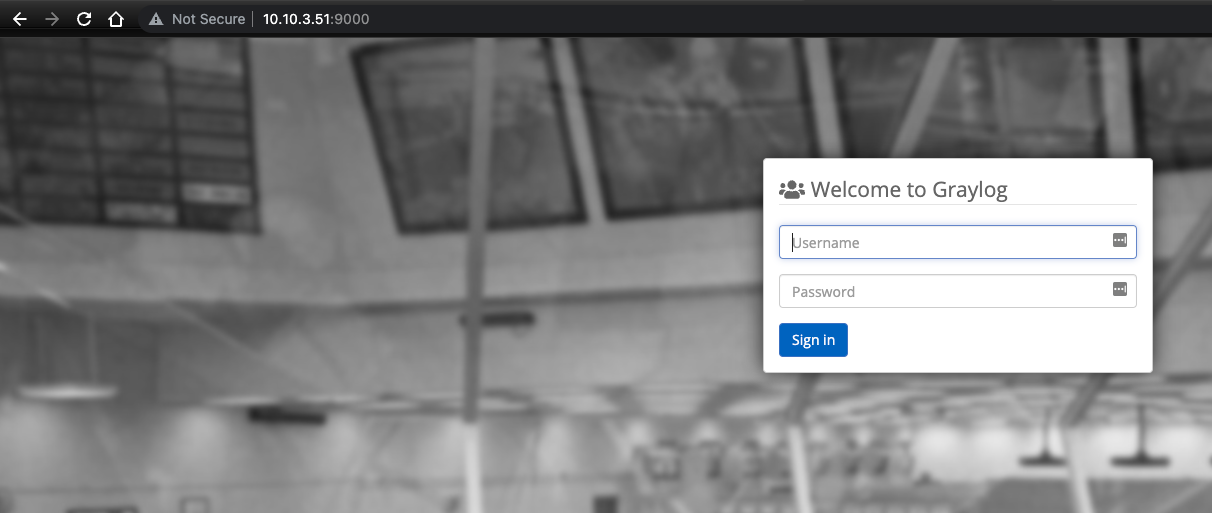
Log in with username admin and the password you configured at root_password_sha2 on server.conf file.
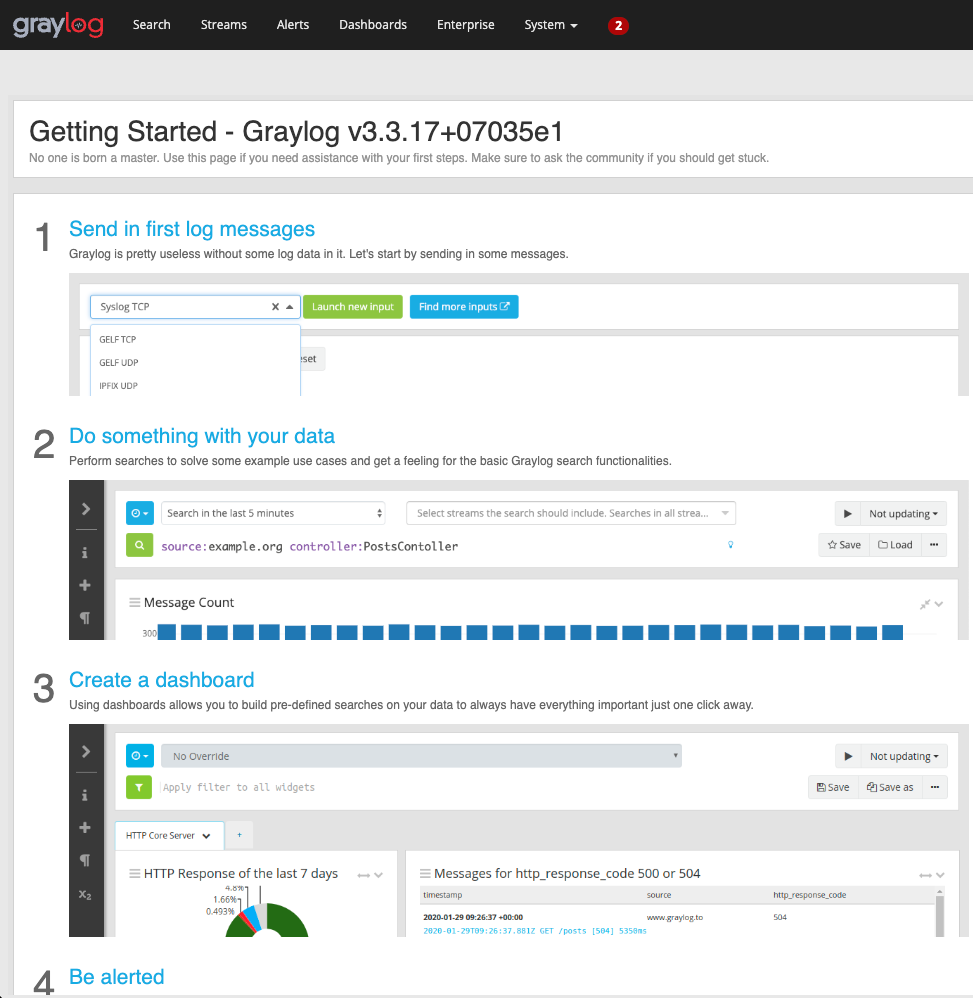
And voila! we have Graylog up and running. In my next Graylog article I will cover how to send Syslog from Palo Alto Network devices to the Graylog server.